Chapter 6 Review & Assignments
Chapter 6 Review
Lets go over some of the basics from the previous lessons:
Loading the P5. Play library
You need to include this line of code in your project’s HTML file if you want to include the P5.play library in any of your projects.
<script src="https://cdn.jsdelivr.net/gh/molleindustria/p5.play/lib/p5.play.js"></script>
Spawning a Sprite
in order to make a sprite you need to use the function createSprite(). Its arguments are:
- Starting X-location of the sprite’s center
- Starting Y-location of the sprite’s center
- Starting width of the sprite
- Starting height of the sprite
You also need to store this sprite inside of a variable so that you can refer to it by name later in your code.
Methods and Properties
A method if an action that you can do with or to your sprite. These are designated with parentheses, and receive arguments just like a function call.
A property is an attribute or behaviors characteristic of a sprite. These can be assigned a value with an equal sign. =
Dot Notation
In order to utilize both methods and properties you need to talk to the sprite first, and the specify the element that you want to set or adjust. we achieve this with dot notation which is shown below;
//method
sprite.method(value)
//property
sprite.property = value
These can also have sub-properties that need to be specified in order to take effect on your sprite, such as sprite.velocity.x and sprite.velocity.y
Moving Sprites Across the Canvas
We can give a sprite automatic movement by setting the .velocity.direction properties as soon as we create the sprite. We can also update these properties with the use of nested conditionals for example:
let sprite = crateSprite(100, 100, 100, 100)

if (keyIsPressed){
    if(keyIsDown(LEFT_ARROW)){
        sprite.velocity.x = 5;
    } else if (keyIsDown(UP_ARROW)){
        sprite.velocity.y = -5;
    }
    etc...
}
This allows up to move a sprite around the screen as we want. We can also set the sprite.position.x and sprite.position.y properties. This will cause a sprite to warp to a given location value.
Sprite Animations
We can load in external files to a P5 project and attach them to our sprites with the addImage() and addAnimation() methods.
We first have to load all of the images using the loadImage() function IN THE PRELOAD FUNCTION in order to tell P5 where to find the images to use. These images can be either loaded into the P5 project or hosted on another website. You can then store this image inside of a variable or array and apply it to the sprite with a line like the one below:
rover = createSprite(width / 2, height / 2);
  let dog_animation = rover.addAnimation(
    "walking",
    dog_sprites[0],
    dog_sprites[1],
    dog_sprites[2],
    dog_sprites[3],
    dog_sprites[4],
    dog_sprites[5],
    dog_sprites[6],
    dog_sprites[7],
    dog_sprites[8],
    dog_sprites[9]
  );
Be sure to give the animation a name as a string. You can change the animation with the .changeAnimation() method. Your sprite will automatically resize itself in order to fit the dimensions of whatever image is currently on the sprite.
Sprite Interactivity
Sprites can react to being clicked on with the .onMousePressed() method, as well as bouncing off of and pushing other sprites with the .bounce() and .displace()methods. Each of these allow for a callback function as an optional second argument. These are custom functions that you can define specific interactions rules inside of and are only called when two certain sprites or members of a group of sprites interact with each other.
Game States
let gameState;

function setup() {}
  createCanvas(400, 400);
  background(220);
  gameState = 'start';
}

function draw() {
  if(gameState === 'start){
      all code for this state goes here
      if(condition to trigger next state){
          gameState = 'play';
      }
  } else if(gameState === 'play'){
      all code for this state goes here
      if(condition to trigger next state){
          gameState = 'end';
      }
      } else if(gameState === 'end'){
          all code for this state goes here
          if(condition to restart the game){
              setup();
          }
      }
}
Timer
let time;
let timerIsDone = false;
let startTime = 30;

function timer() {
  time = int((millis() - startTime) / 1000);
  if (time > 30) {
    timerIsDone = true;
  }
  return time;
}
Chapter 6 Review Assignment
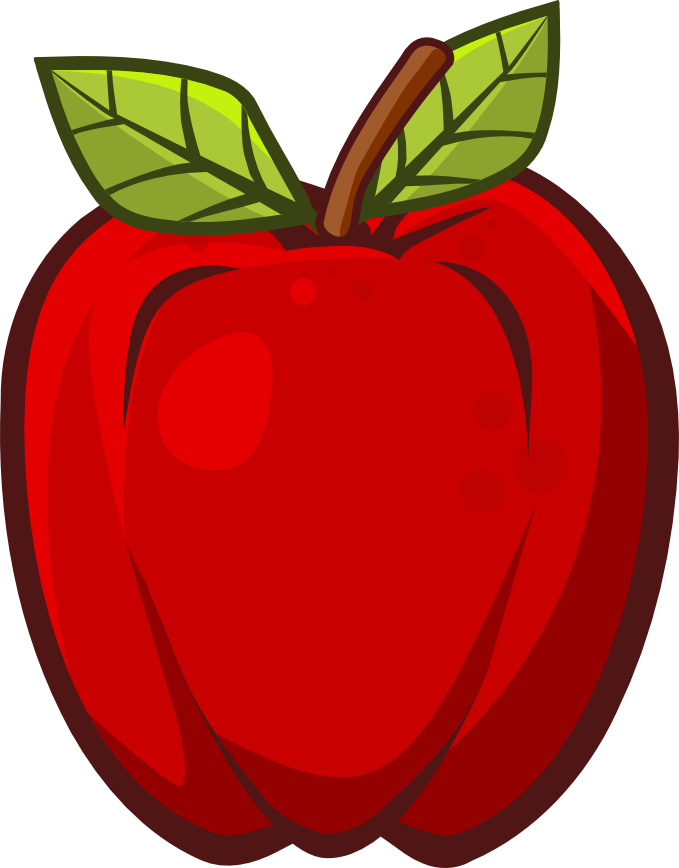
As preparation for the Bug Squish assignment, your assignment is to recreate the following code using the background and sprite images below. the background should be set to the given image, and each apple should be a sprite with the provided image added to the sprite
See the Pen Graphics Assignment 3 - Bug Squish Game! Solution by LSU DDEM (@lsuddem) on CodePen.
https://codepen.io/lsuddem/pen/KKdeQga
Additional Practice Assignments
For additional practice, try creating multiple sketches that do the following:
- Cave a player character navigate through randomly generated obstacles. If they touch the obstacles they lose, if they reach a goal point they win
- Create a large number of sprites. Give them all unique animations/images. Have the animations and sprite behavior change when they are clicked on. Give each sprite a unique reaction.
- Using the dog code from the animation lessons as a guideline, try to create your own collection game.
- Using sprites, make a scene where it is raining. If the player character comes into contact with a raindrop, they lose. See the lesson on sprite movement for an example of random/automatic sprite movement.